
Table of Contents
Creating Template
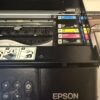
First step is to scan the blank using your scanner.
We usually add a dark paper behind the blank to pick up the white better.

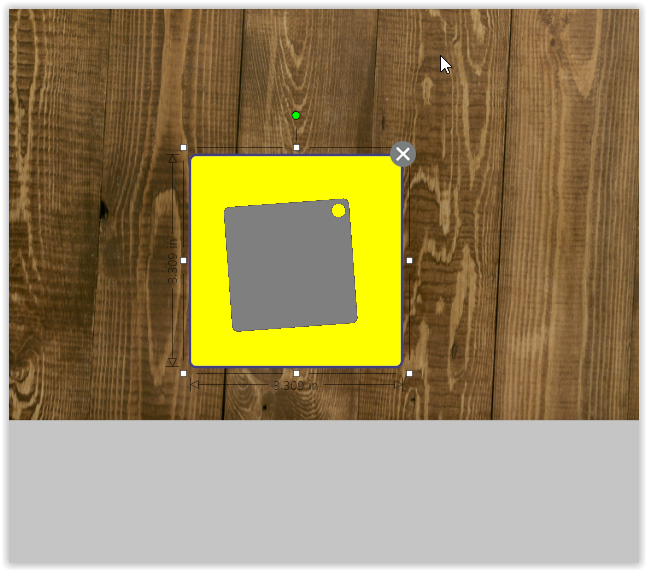
Next, we open the image in Silhouette Studio.
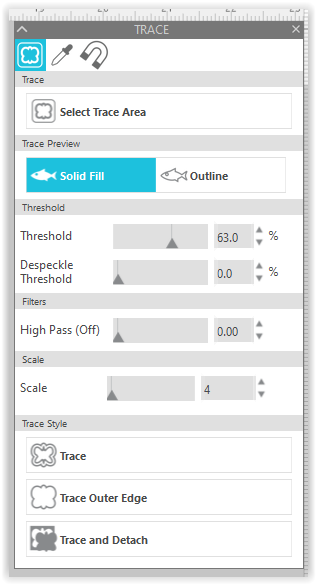
Once opened, we trace shape using the trace tool.
You may have to adjust threshold settings to get crisp shape.
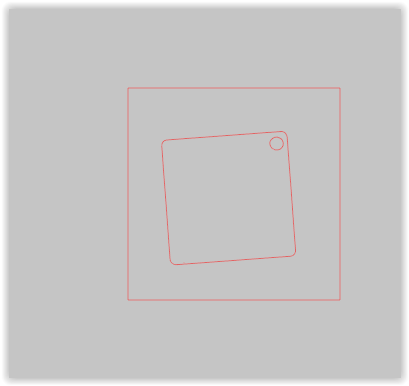
Once traced, remove the original image to display the traced object.
Right click and Release Compound Path. This makes every piece it’s own piece so you can delete any extra – select the square border in this example and delete.
Don’t forget to regroup objects.
Next Step, we create an offset. We usually use 0.55 but you are just aiming to have the offset that is a bit bigger.
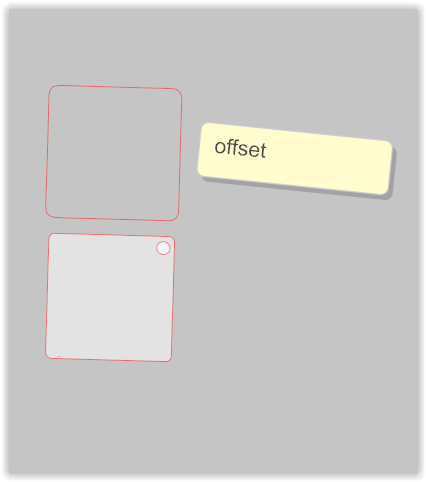
Next step, we make our shape white in color and bring up the transparency so when we lay it over our images, we can see through it.
Saving the Template
Make sure to save everything (including the offset) to use in the future!
Using the Template
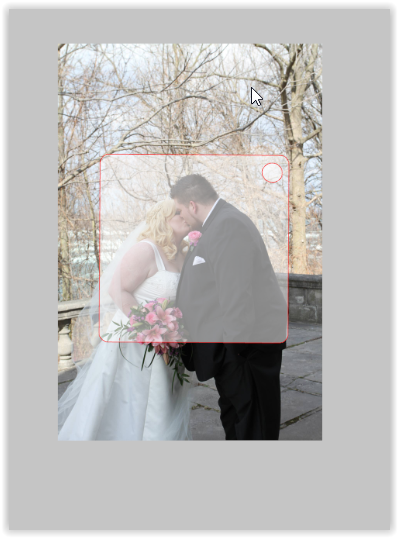
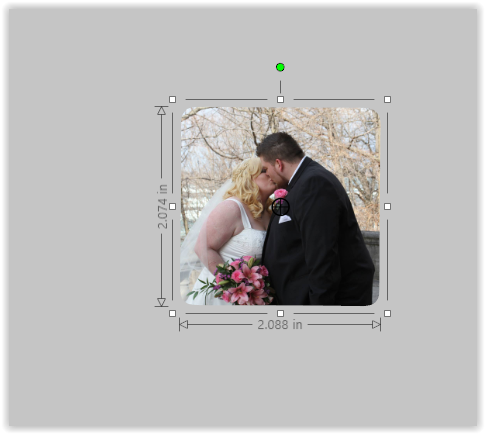
To use the template, bring in your photo.
Make sure the template objects are at the top (Right Click, Bring to Front)
We usually size using the real shape, so we can visually see the final result. Once it is sized, we then add the offset back.
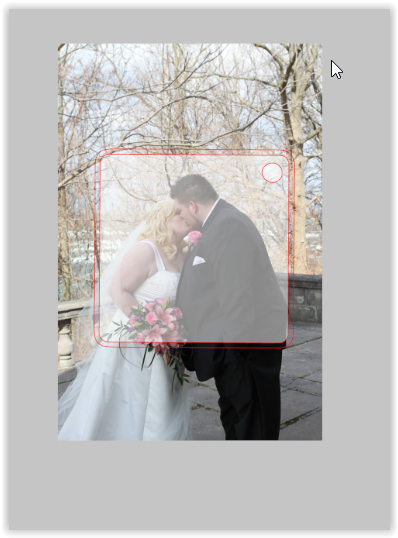
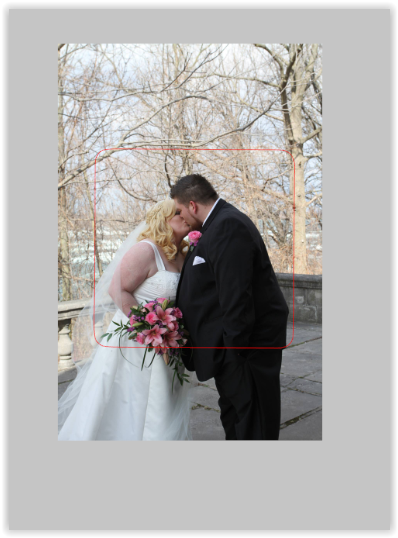
Then we remove the real shape template and we are left with the offset (a tad bigger than the blank) and our photo.
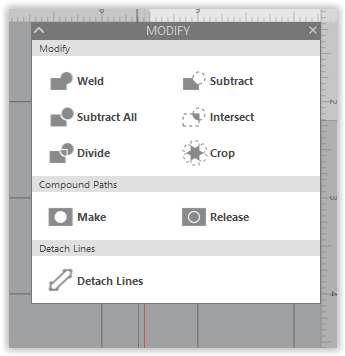
Select both objects (drag your mouse cursor over all objects) and use the crop option.
You’ll then print the slightly bigger offset with your photo!
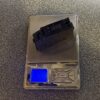

Thank you so much for this that’s a awesome way any trips for tumblers I measure I can’t tell u how many times and still I have lots to cut or not enough
Can you tell me how you measure now so I can offer some tips 🙂
Test