Table of Contents
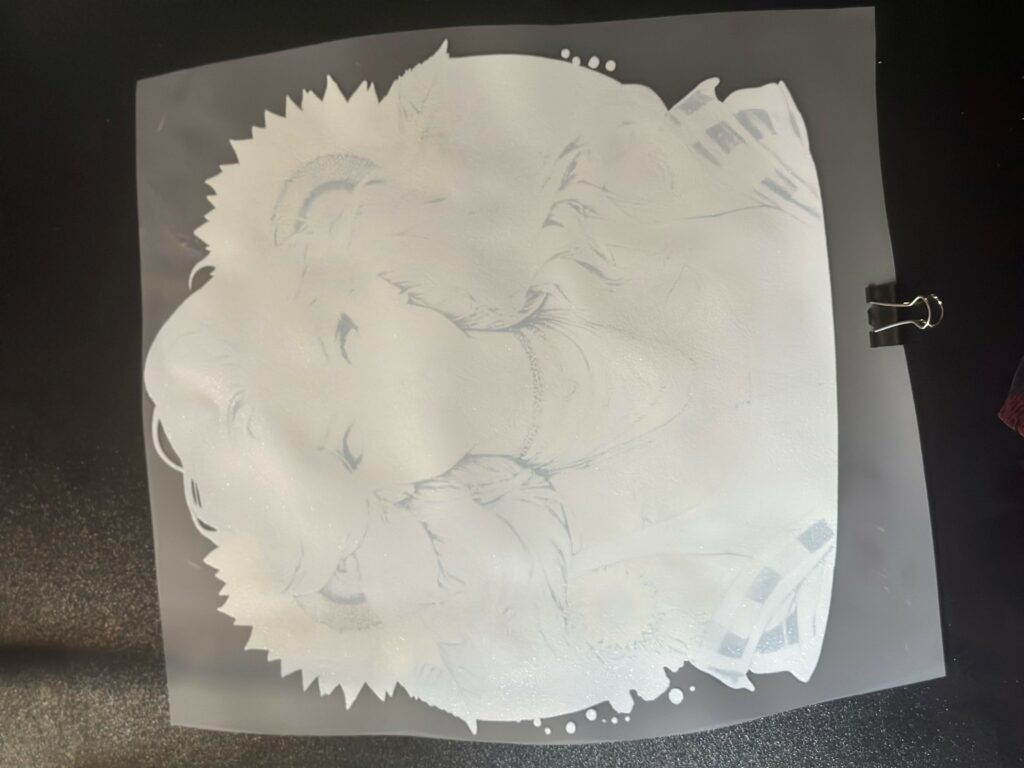
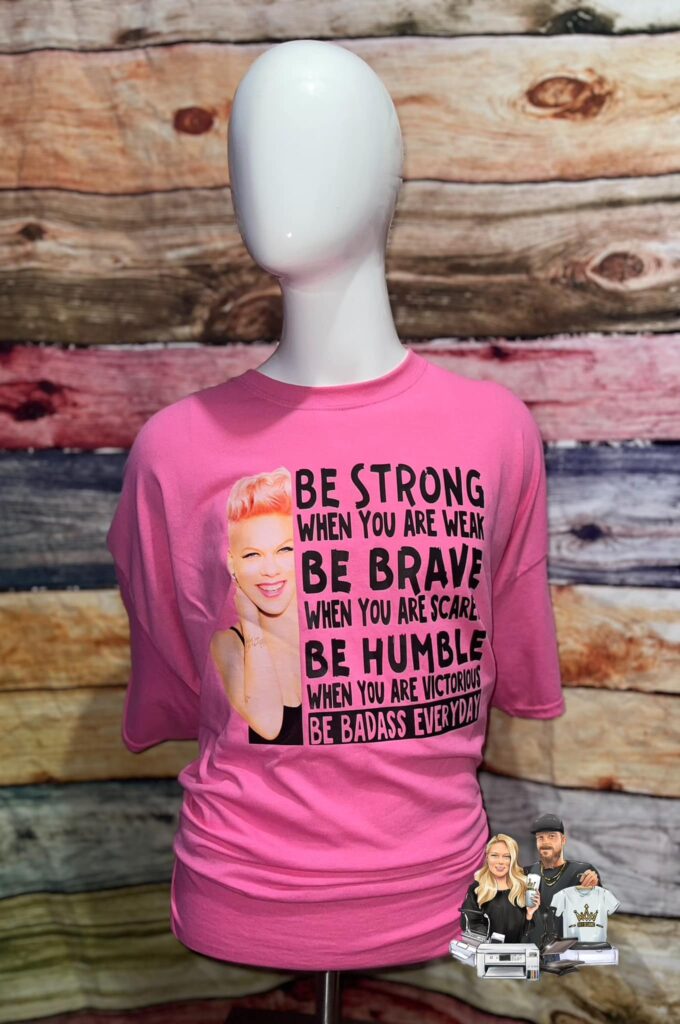
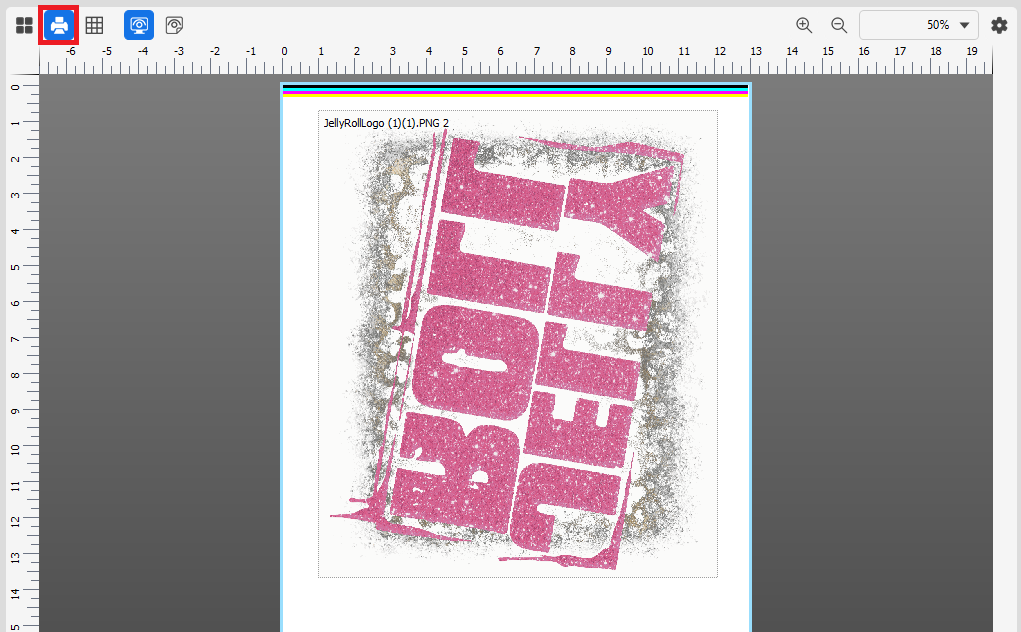
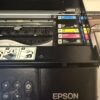
Below is a slide show of some of our DTFs printed on our printer.


CADLINK GENERAL SETTINGS

These are always the first settings we change.
To find the general settings, click on Tools -> Options.
Make sure to enable advanced settings in order to see all the settings in the following steps.
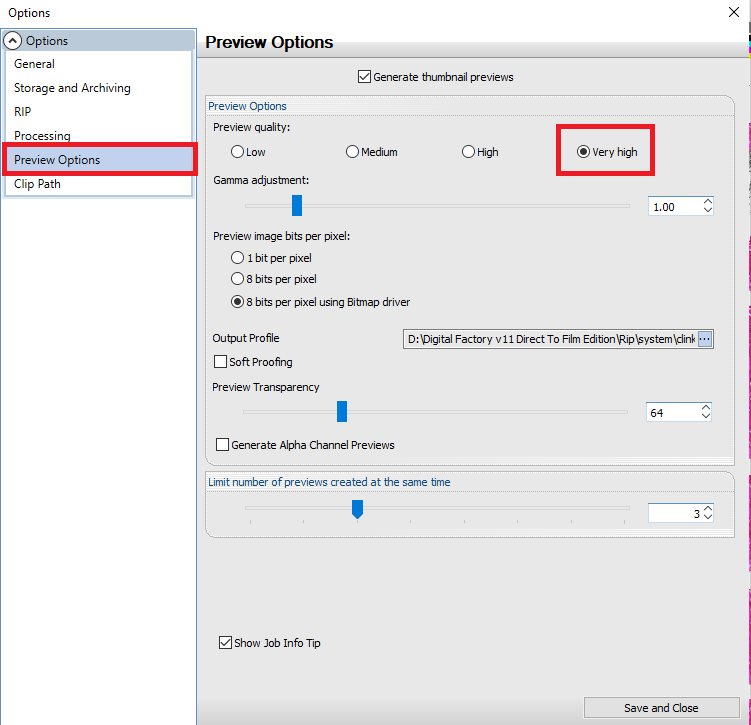
This is optional but we prefer to preview high quality of our print out beforehand.
CADLINK QUEUE PROPERTIES SETTINGS
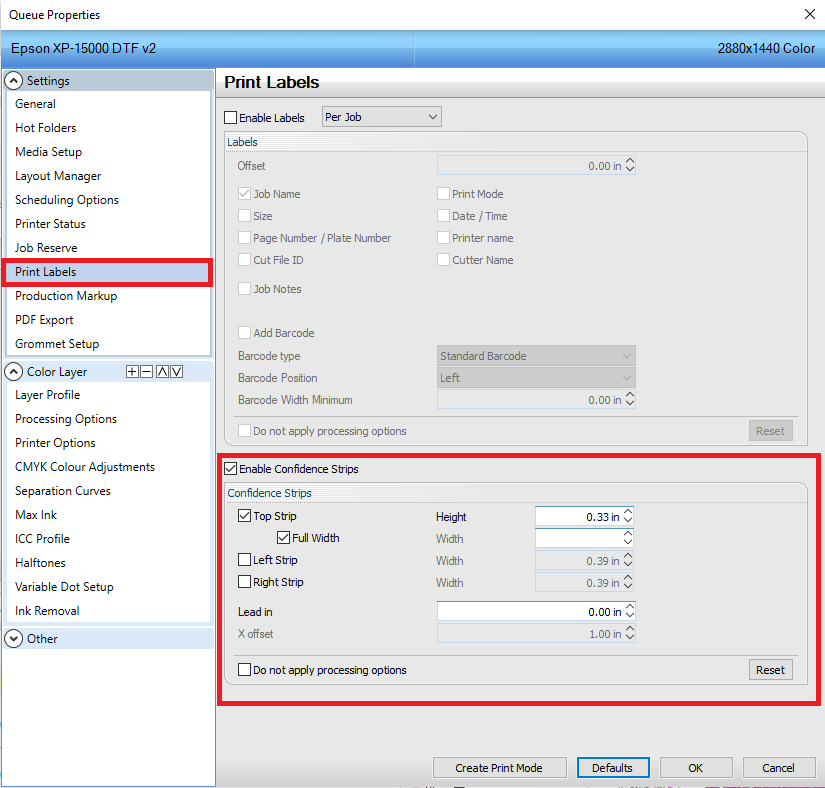
This enables the printer to print all colors BEFORE printing the actual file. We like this setting because we can tell if any colors aren’t working before spending time printing the whole image.

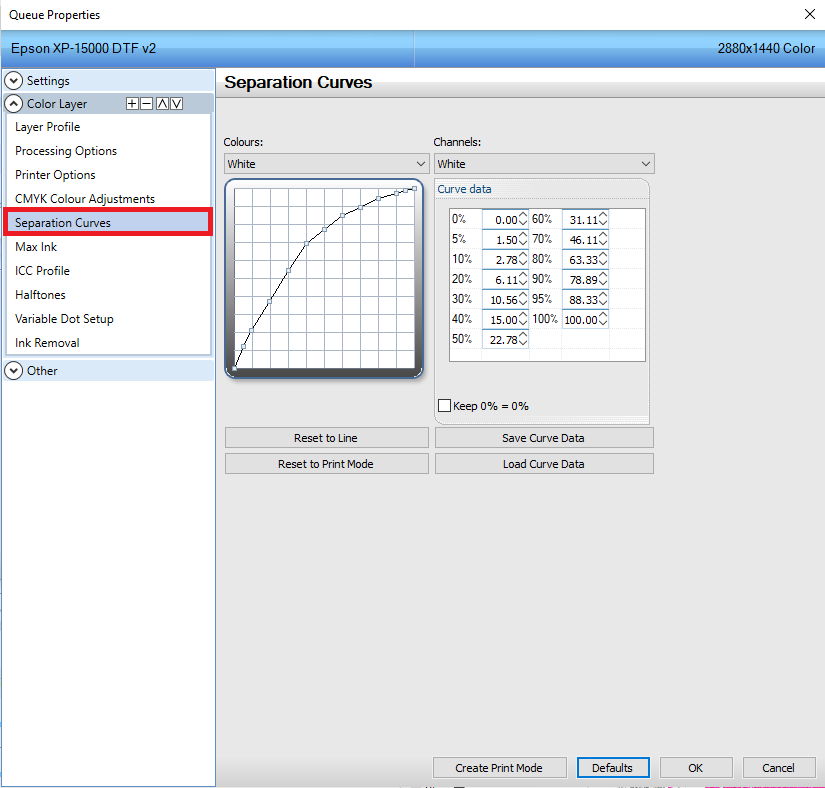
The brand ink we use allows us to use 50% white with amazing coverage. We suggest starting there and only increase if required.
We usually are putting these on dark shirts so we also only put 40% white behind our black. If on light shirts, we do increase this under black to 50%.
We do not use the highlight option.

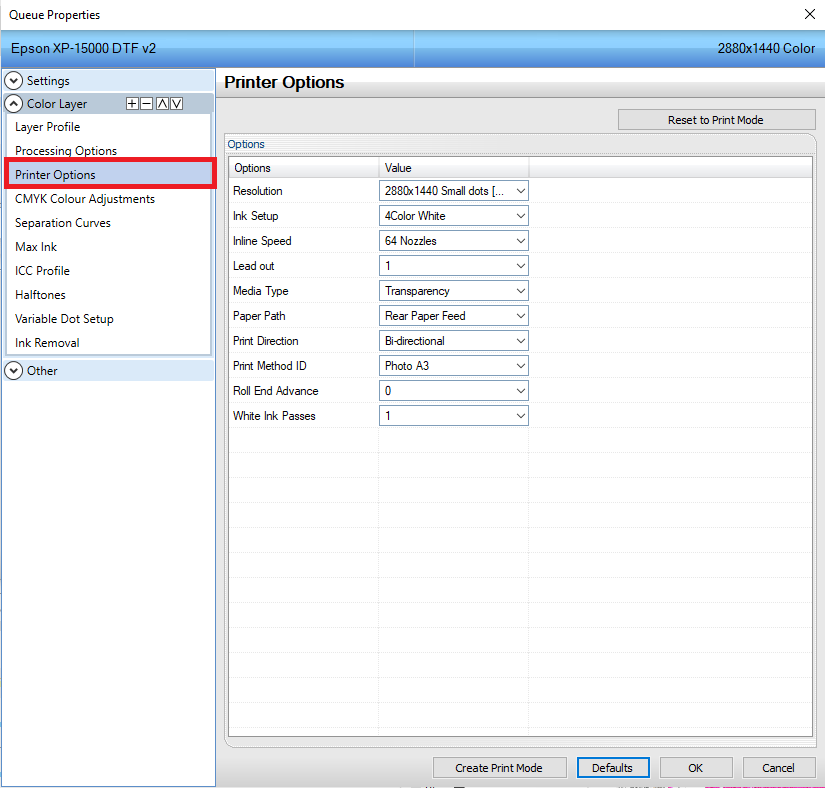
Increasing the resolution will make your prints POP however you will notice a slow down in the printing (this works out for us and lets the ink dry)
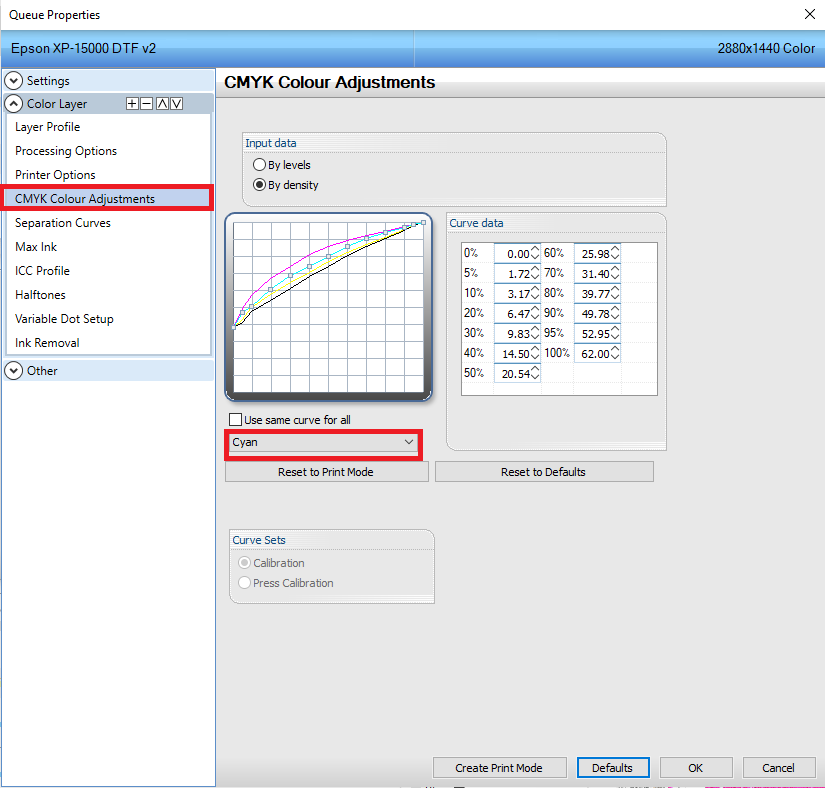
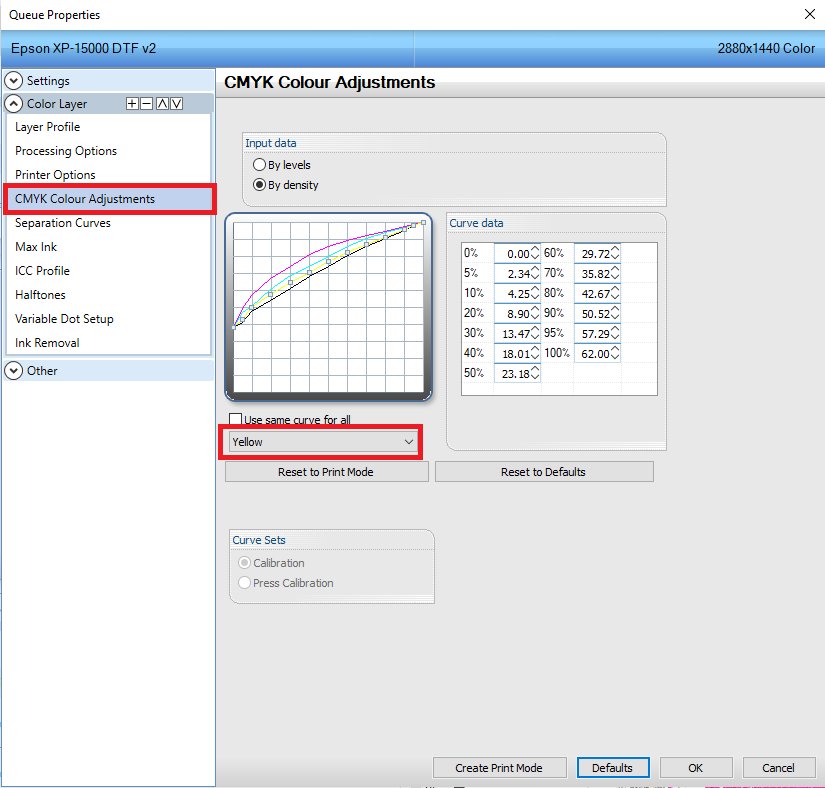
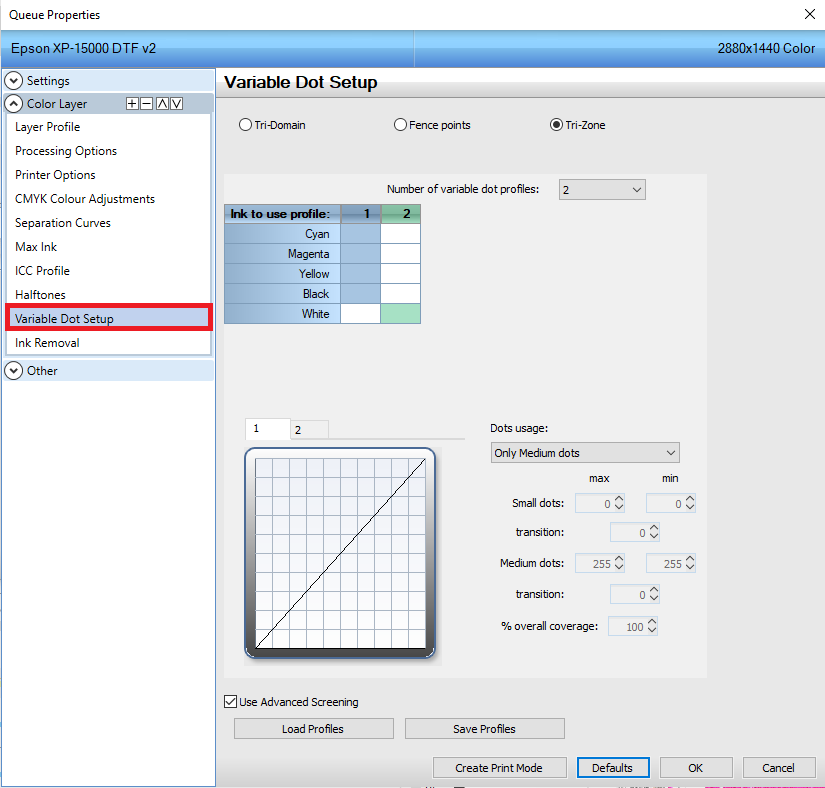
If we are not mistaken, the next 5 are the default options however we listed each one in case they aren’t.
CYAN

MAGENTA
YELLOW

BLACK
WHITE
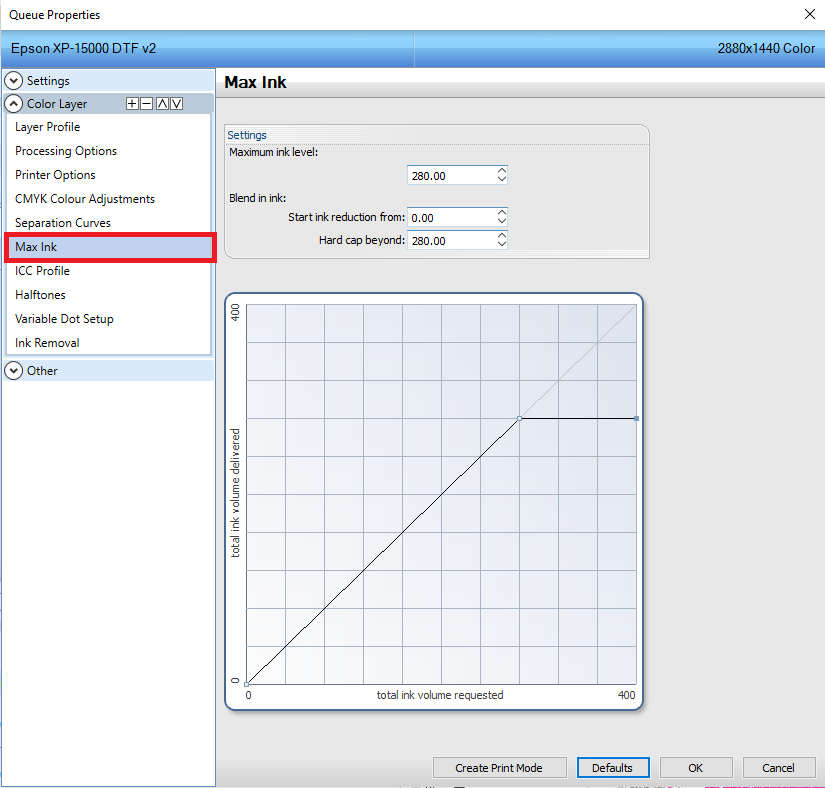
Here we set the MAX INK setting.
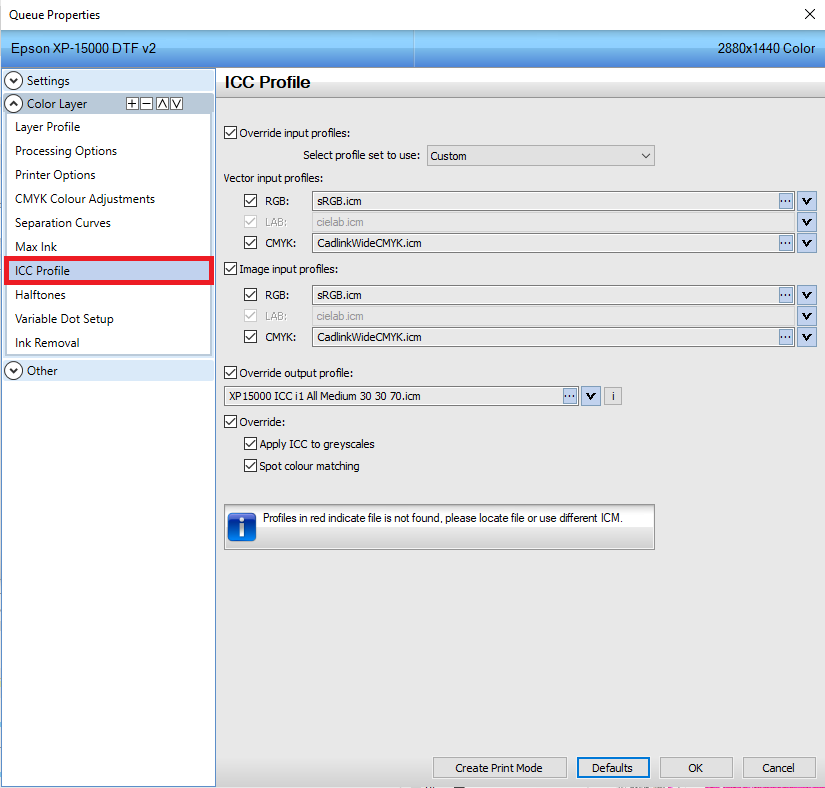
This setting usually is dependent on your ink brand. Some manufacturers will need their own ICC profile however the ink we use, these settings are perfect and we did not require anything extra.
ENABLING PRINT PREVIEW
In order to view the print preview, you must toggle this setting on.
PRINT PREVIEW OFF
PRINT PREVIEW ON

[…] Our Cadlink Settings […]