

*** MAKE SURE CHIPLESS FIRMWARE IS ALREADY COMPLETED BEFORE THIS STEP ***
Table of Contents
- OEM Cartridge Info
- Required Supplies
- Emptying OEM cartridges of original ink
- Filling OEM cartridges with DTF Ink
- OEM cartridge not accepting DTF ink
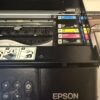
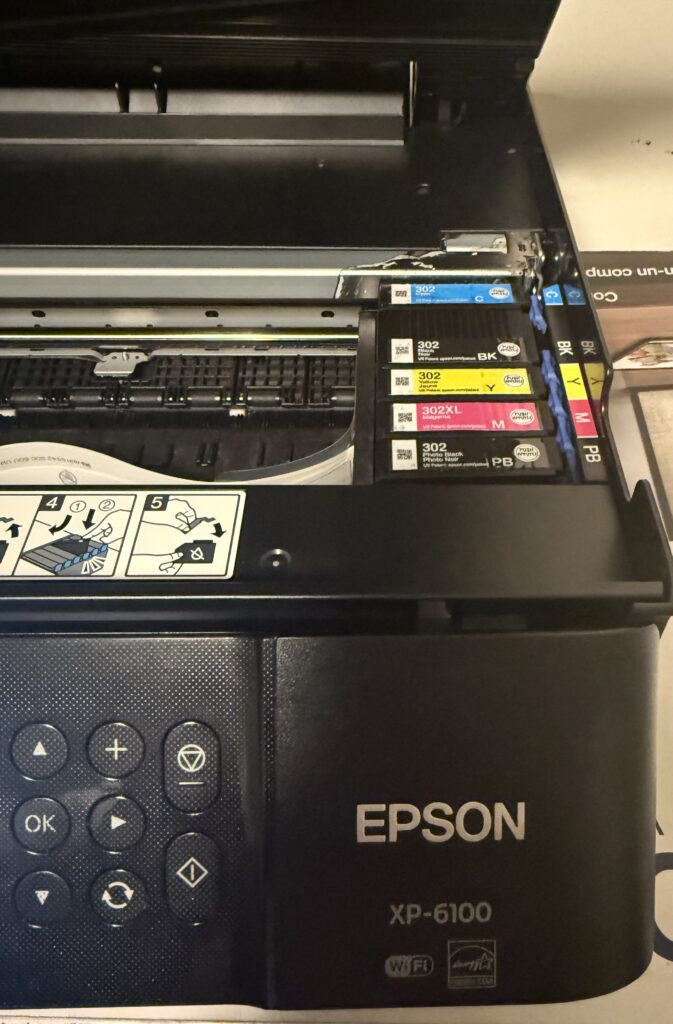
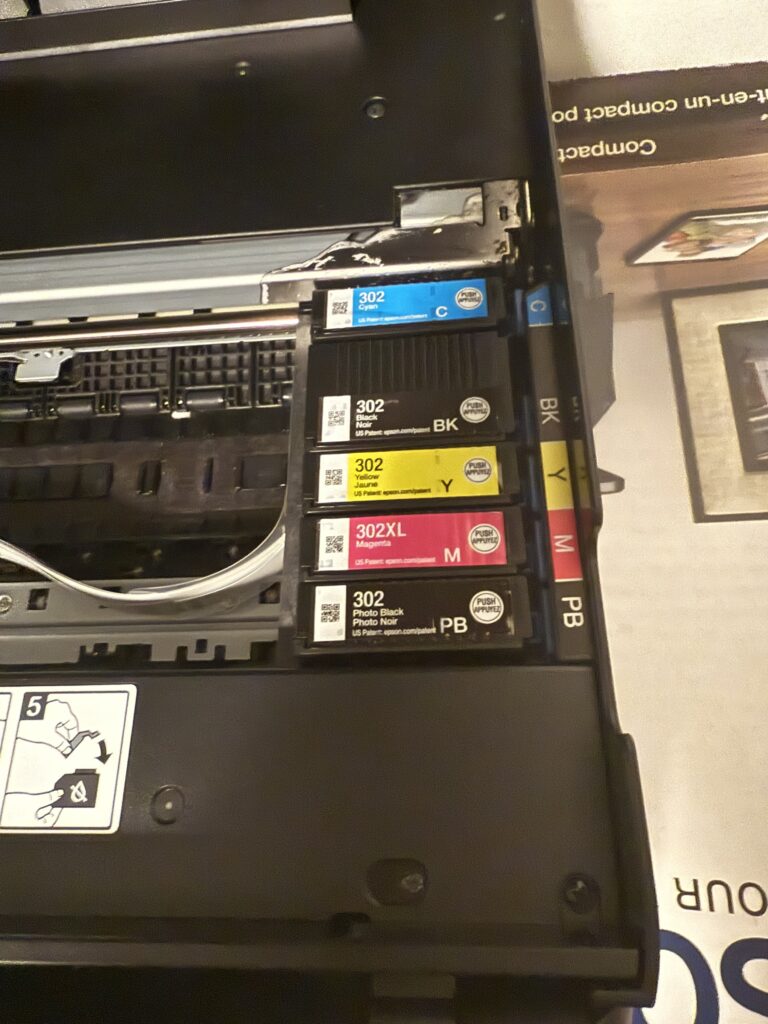
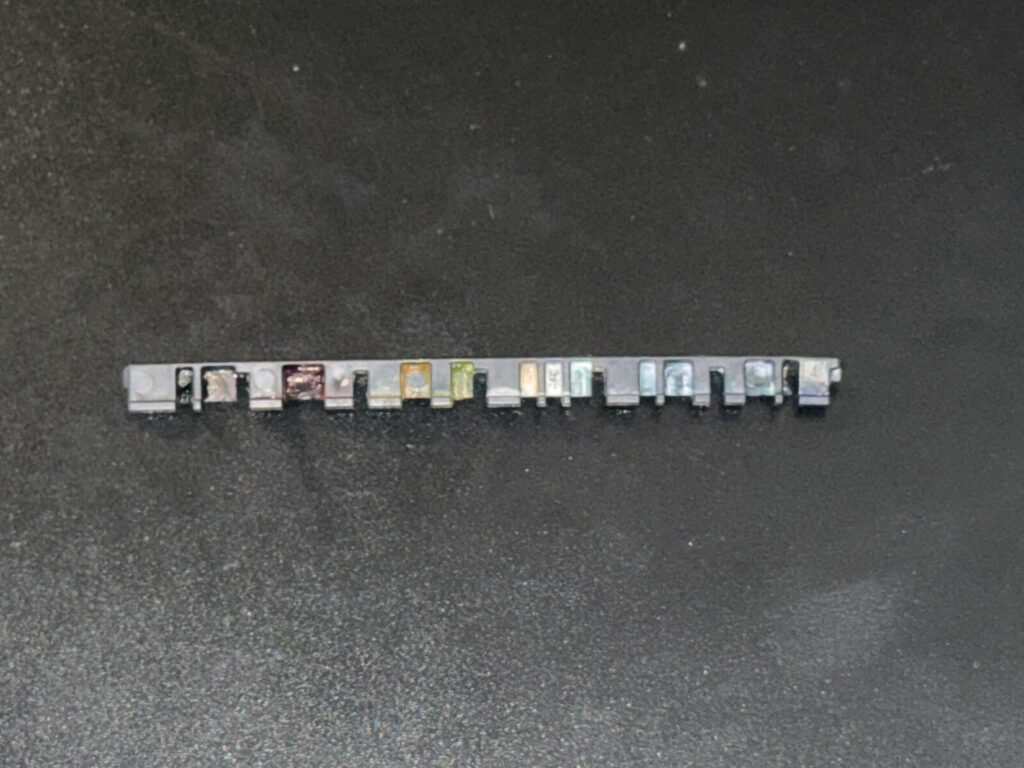
OEM CARTRIDGE INFO
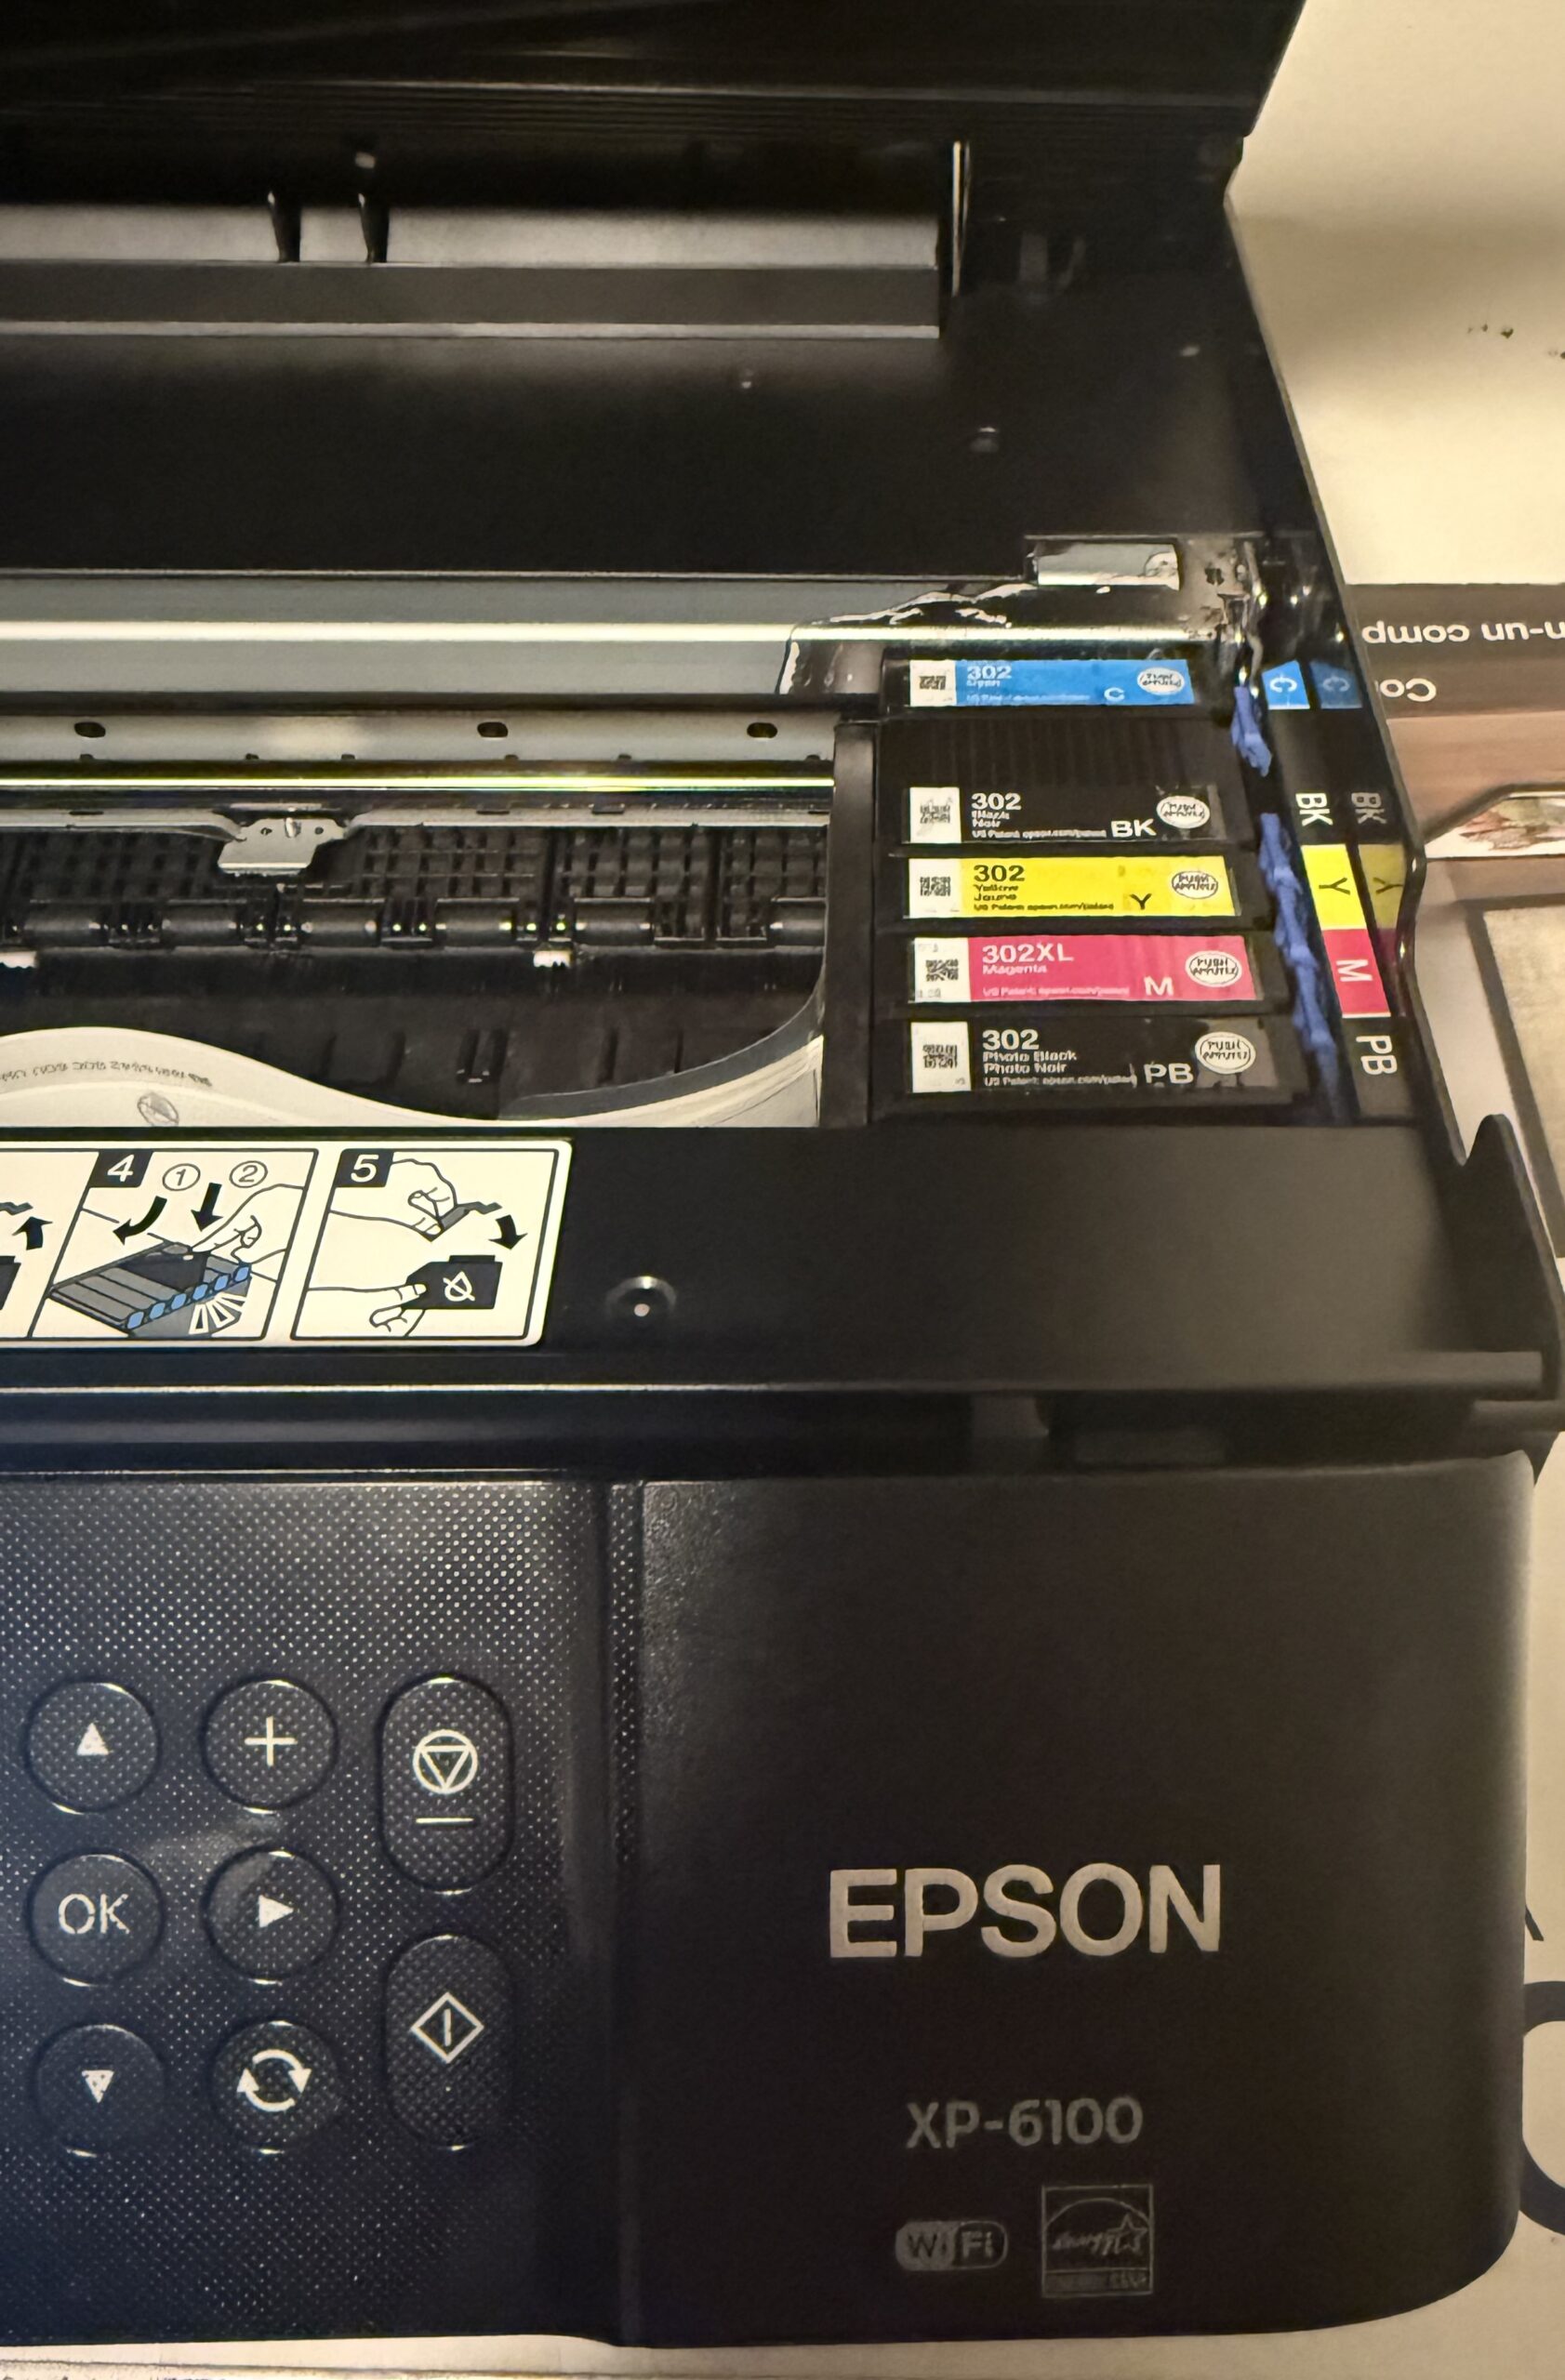
You’ll notice there are a few type of 312/314 Epson cartridges. Epson puts Initiator (less) capacity amount of ink when you buy the printer. You can buy Regular or XL (more) ink cartridges too.
What Epson doesn’t tell you is you’ll pay more for XL. However, every single one of them can contain 28g of DTF ink when emptied and refilled properly.
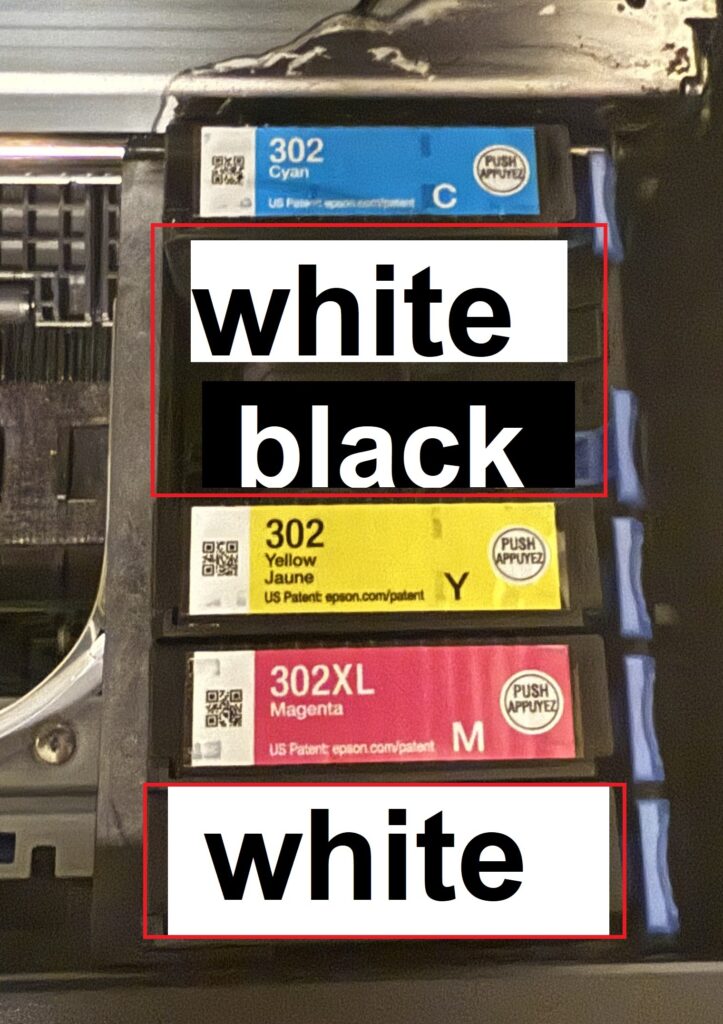
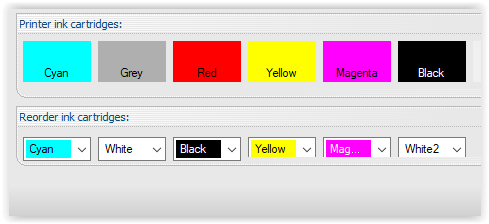
We removed the ink cartridge lock mechanism on our XP-15000. This is so we can use any color cartridge in any slot. That means we can just buy whichever is on sale when we need to replace.
- 312-I: Starter capacity CMYB.
- 312: Regular capacity CMYB.
- 312-XL: High capacity CMYB.
- 314-I: Starter capacity RG.
- 314-XL: High capacity RG.
REQUIRED SUPPLIES
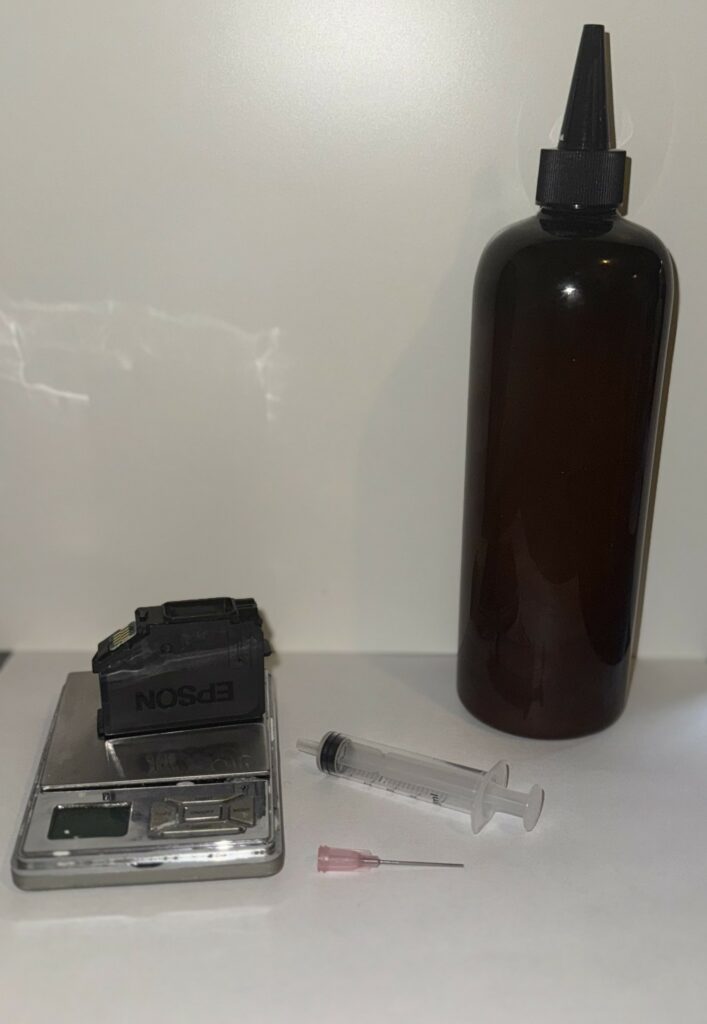
- Sink
- Running Water
- Syringe
- Syringe Needle Tip
- DTF Ink
- Ink Cartridges
- Food Scale
EMPTYING OEM CARTRIDGES OF ORIGINAL INK (REQUIRED ONCE)
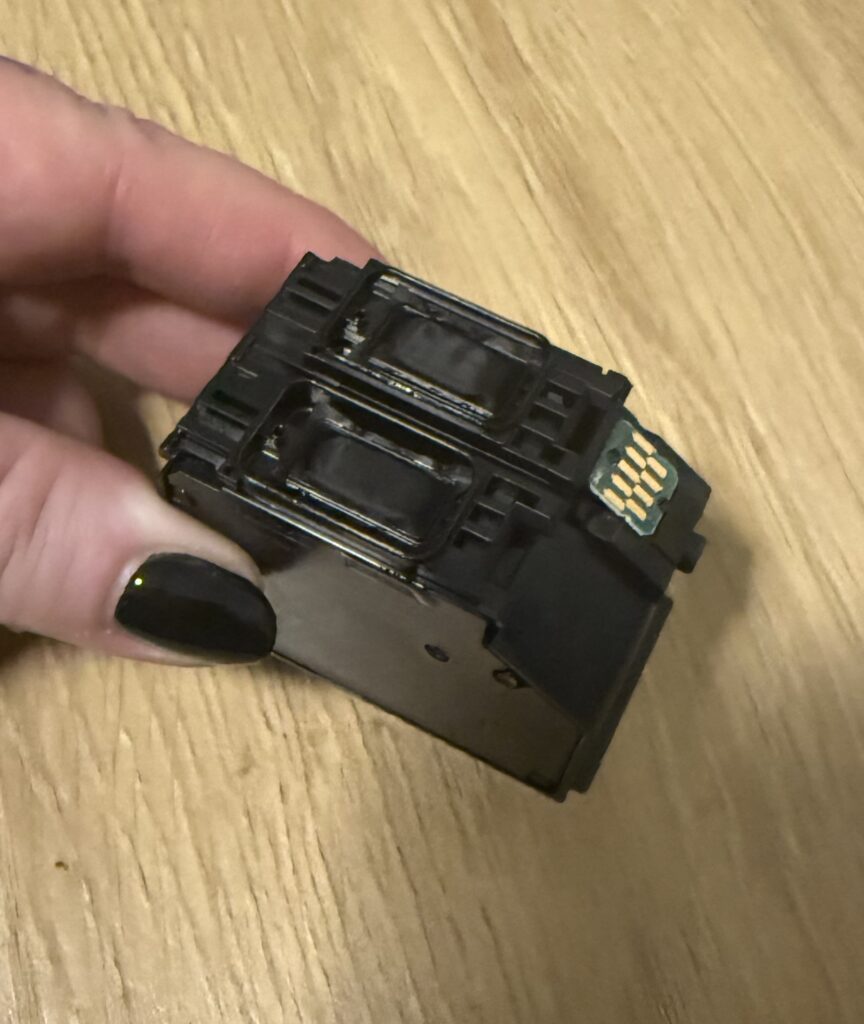
In this step, you don’t have to worry about getting any part of the cartridge wet. The chip itself will no longer be required with chipless firmware so we actually remove them.
*** MAKE SURE CHIPLESS FIRMWARE IS ALREADY COMPLETED BEFORE THIS STEP ***
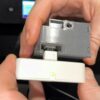
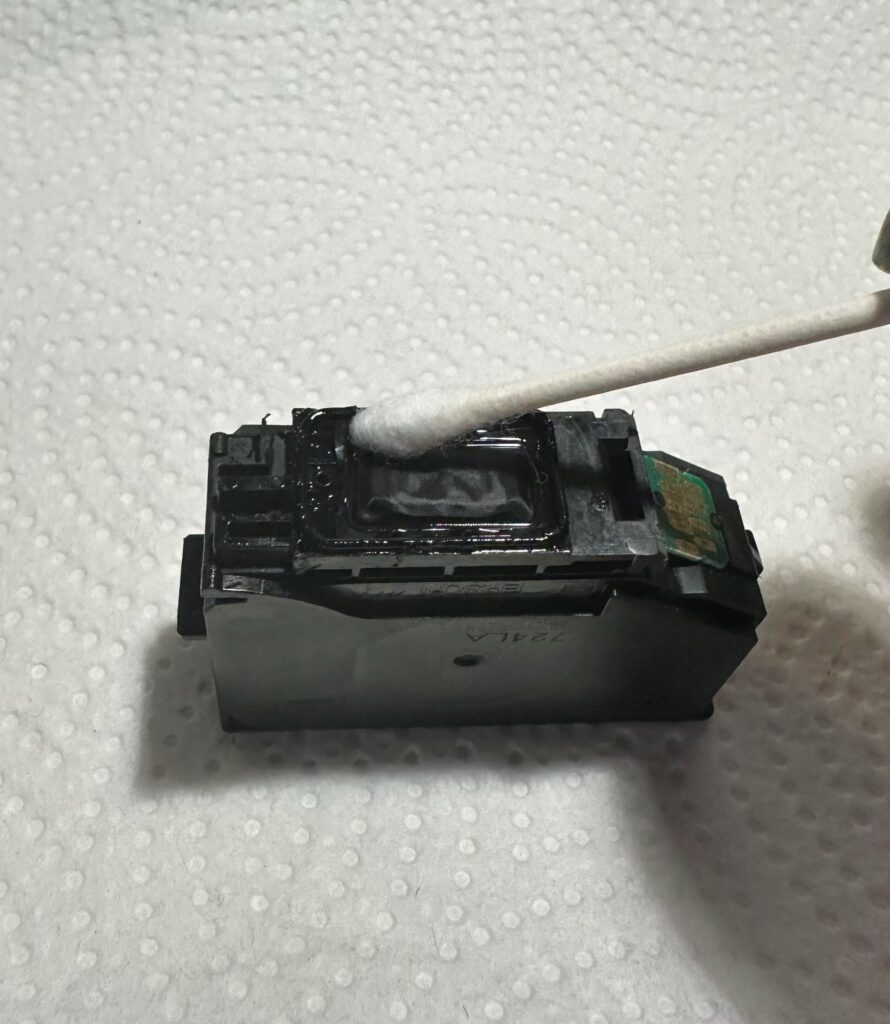
Run water into the mesh of the cartridge.
When angled correctly, ink will poor out.
You can do this a little bit and move onto next step when you notice less ink coming out.
Use the syringe to suck original ink out gently through the mesh.
Add more water through the mesh.
Shake to rinse.
Repeat until what you’re removing is only clear water.
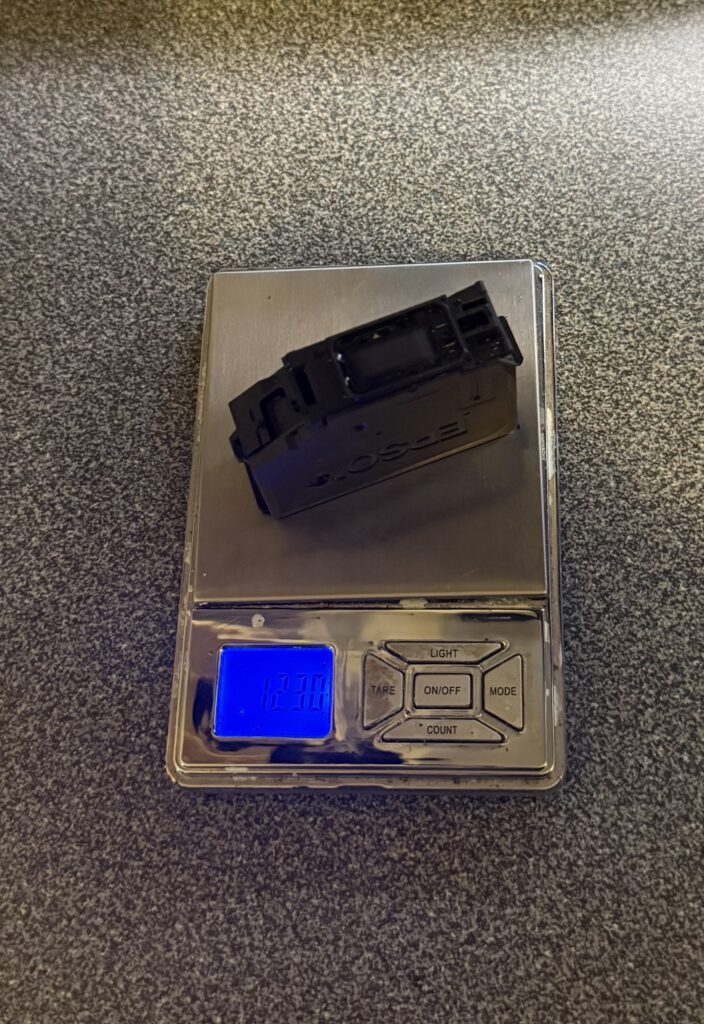
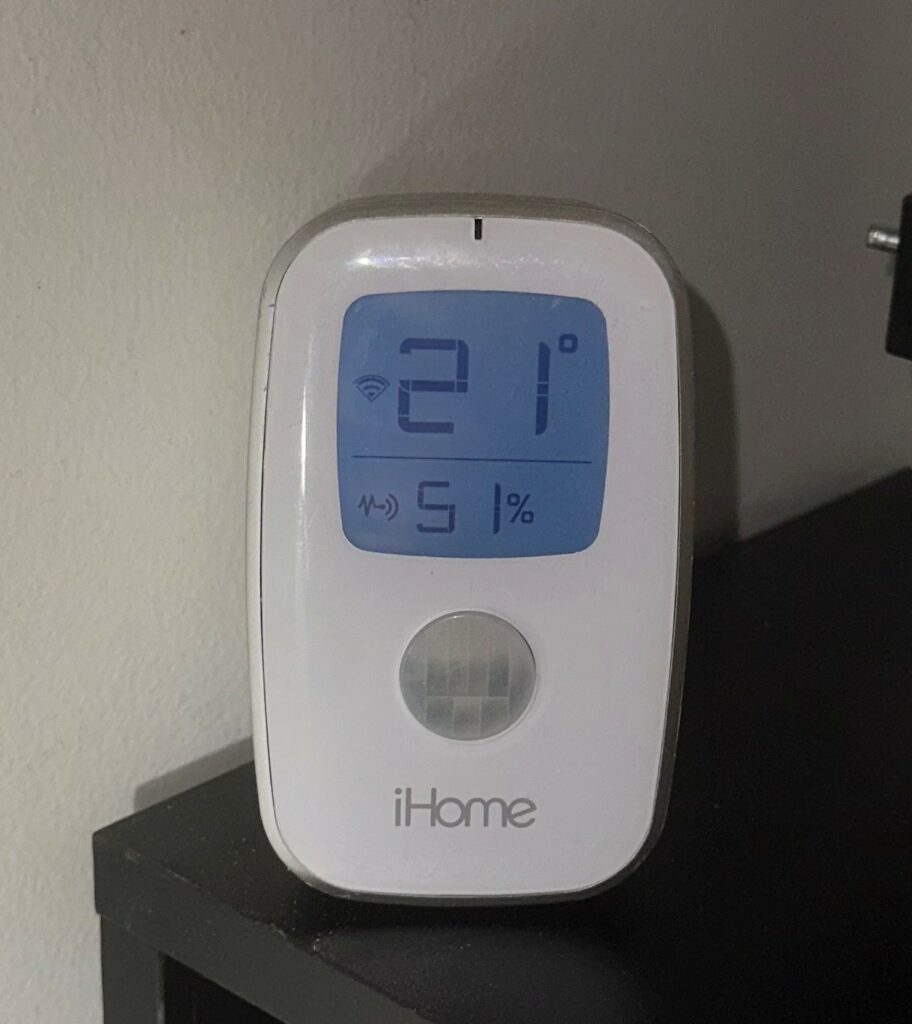
Once you get clear water, remove ALL water one last time. The cartridge should weight about 12g when empty.
This is important to check as you don’t want to add water to your DTF ink.
FILLING OEM CARTRIDGES WITH DTF INK (REQUIRED WHEN WEIGHT UNDER 16G)
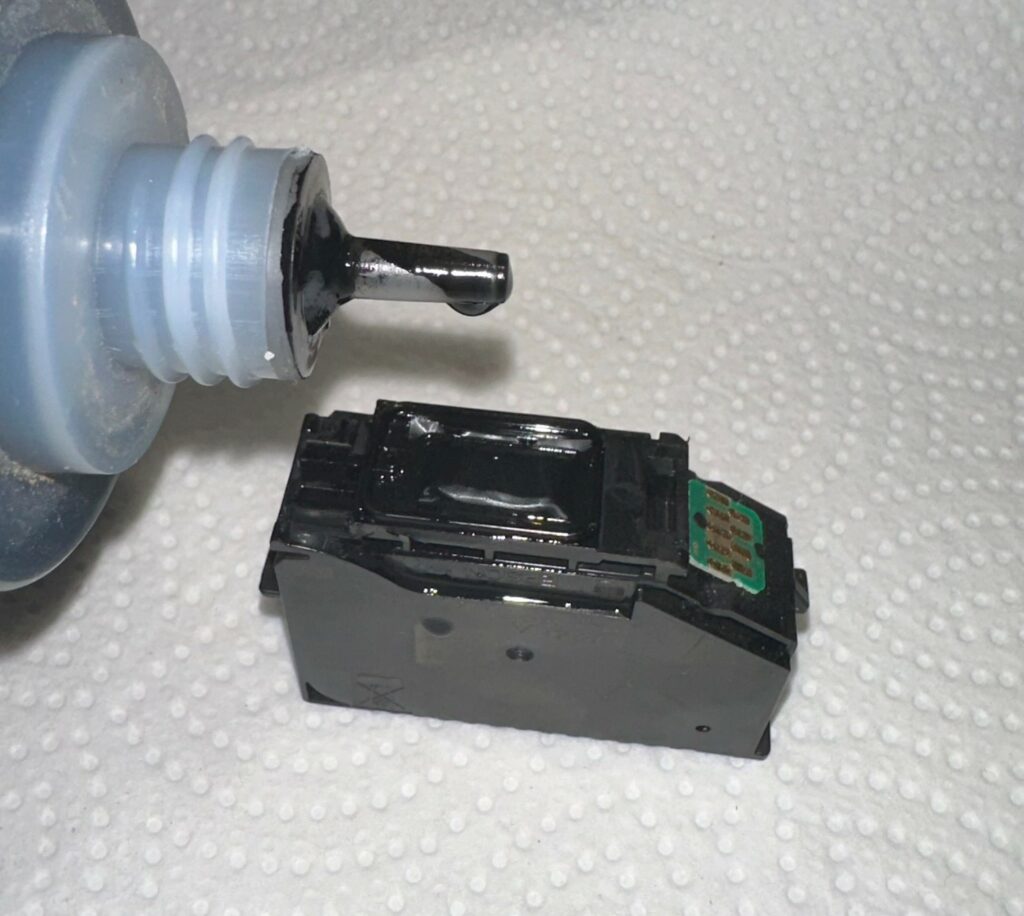
Fill cartridge from the mesh opening until it weighs 28g.
If you can’t add more ink and it does not weigh 28g, proceed to the next step.
OEM CARTRIDGE NOT ACCEPTING DTF INK (REQUIRED ONCE IN A WHILE)
If your cartridge is not accepting more ink, check its weight. If it is not weighting 28g, just follow the steps below.
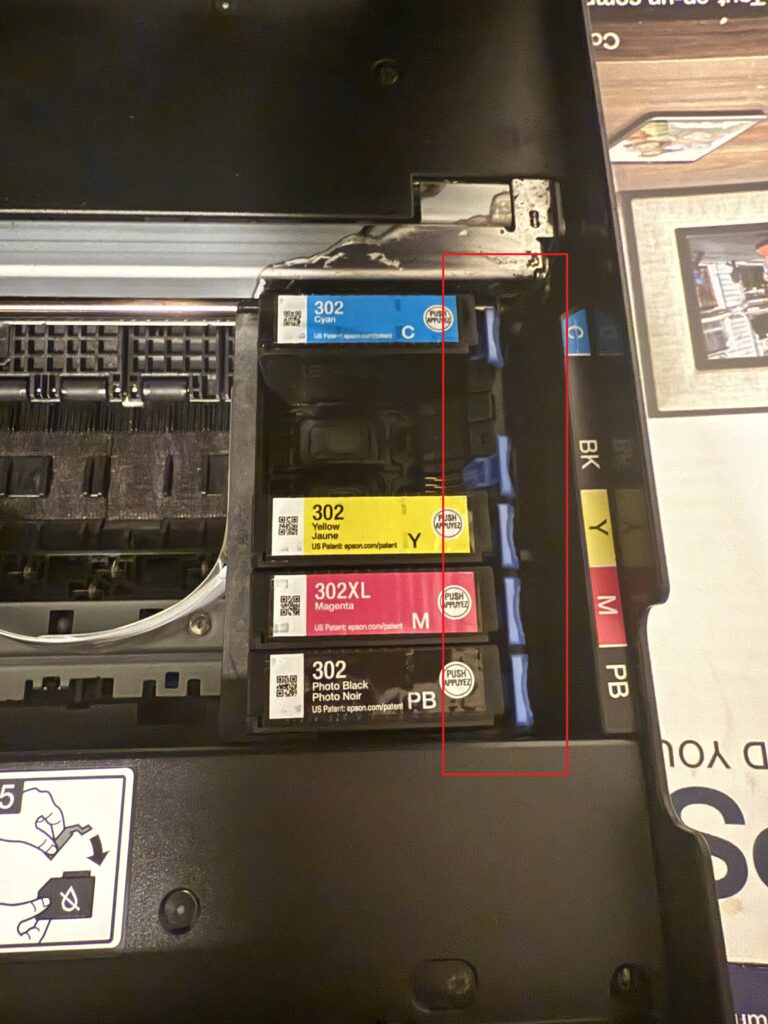
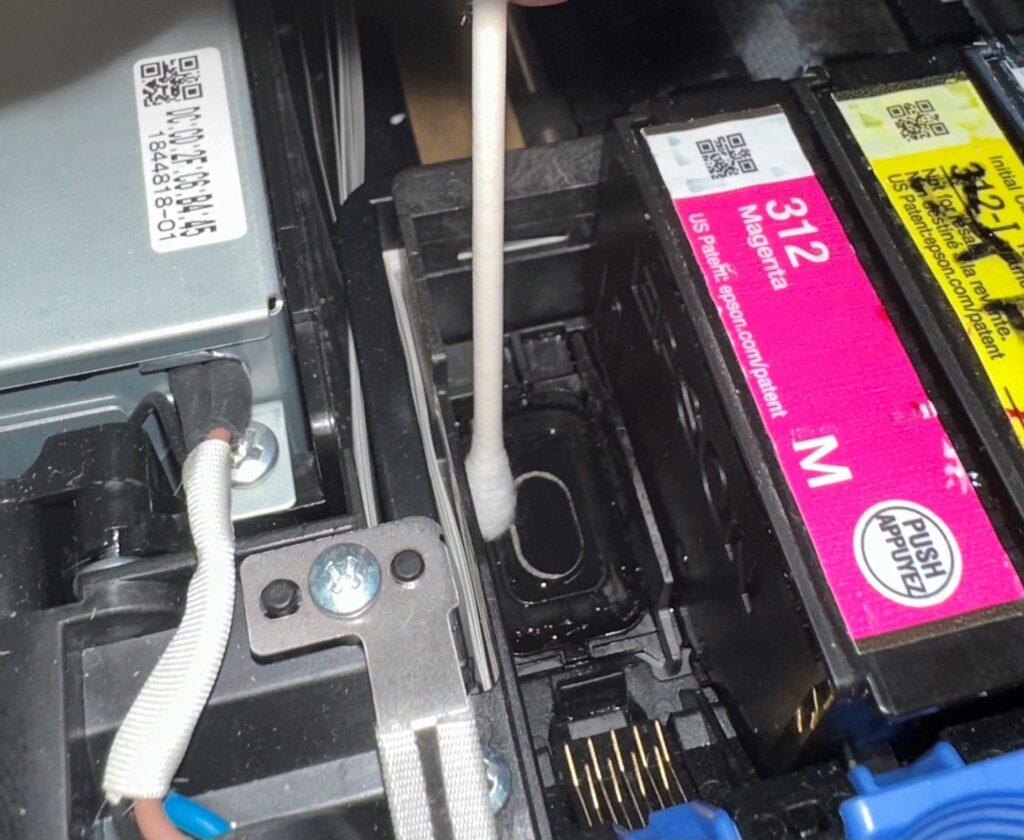
Insert a needle tip onto your syringe.
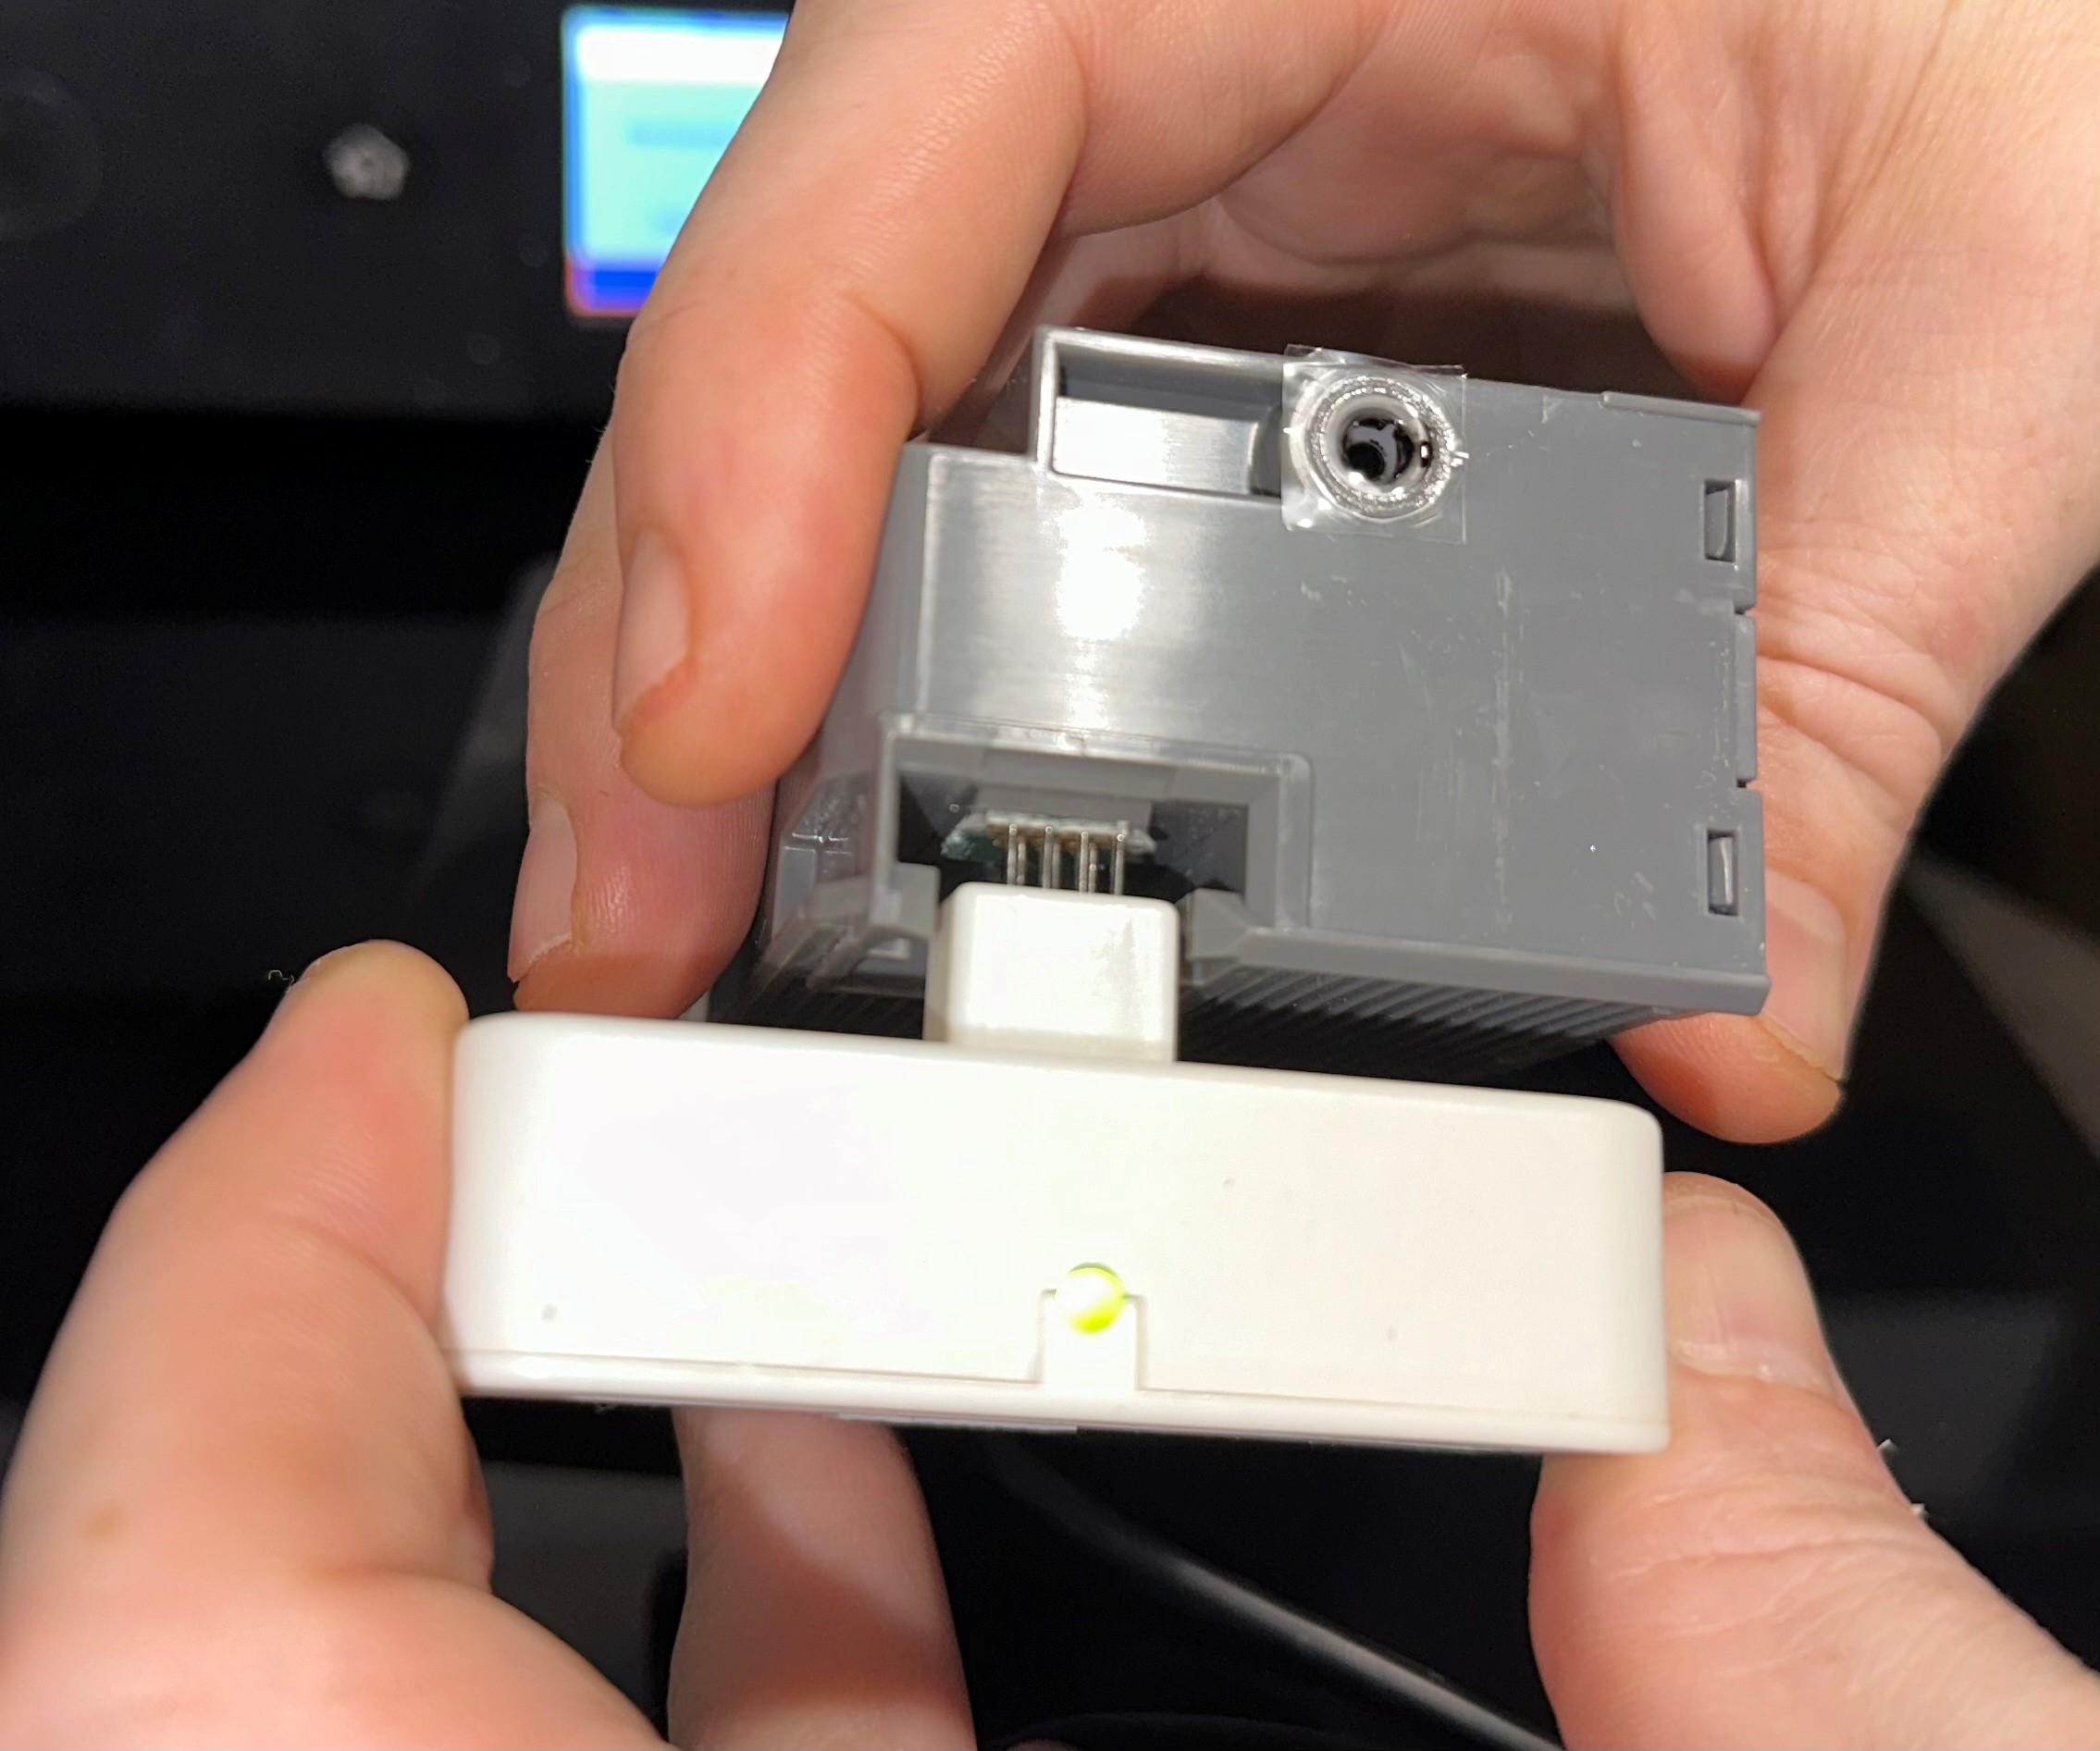
Below approx 5ml of air into the little hole close to the mesh. It’s located on the opposite side of the green chip.
Not too forceful or the ink will splatter.
Do this 2-3 times and retry adding ink.
Repeat until you can add 28g.


